Learn all about fabric anatomy. Did you know that fabric has many parts? Do you know what those parts are or why they’re important to know?
You may know that there is a wrong side and a right side to fabric. But there’s more to fabric than just a right and a wrong or an up and down.
In today’s sewing lesson, let’s take a look at all the parts of fabric, including:

Fabric Anatomy
Before we talk about the anatomy (all the many parts) of fabric, you just might be wondering why you need to know this and why on earth it’s important for you to understand fabric anatomy as a beginner sewist.
I’ve got an answer to that question…
Why do you need to know about the anatomy of fabric?
Have you ever worn a pair of slacks where the leg seam wanted to wrap around your leg instead of going straight down the leg? Or how about a sweater or sweatshirt where the side seam kind of wanted towards the front or back instead of straight down the side?
These things more than likely happened because someone didn’t pay attention to the grain of the fabric. So you see, it’s important to understand the anatomy of fabric so that you know how to lay out your pattern pieces properly and cut out your fabric properly.
Some patterns require the fabric be cut with the grain, while others (think stretch) require the fabric be cut on the bias.
Just keep in mind that any time you work with fabric it’s important to know which direction to cut the fabric. And it’s also important to know how to properly layout your pattern pieces (with nap and without nap).
Fabric Anatomy Terms
Grain
The first term that is important for you to know is grain. When woven fabric is made, there are yarns or thread that go left to right (weft) and yarns that go up and down or top to bottom (warp).
Fabric grain simply refers to the direction of the warp and weft threads used in weaving the fabric. Straight grain is in the direction of the warp threads, which run parallel to the selvages, and cross grain runs in the direction of the weft threads, which run perpendicular to the selvage edges.

To put it simpler, fabric grain refers to the direction of the warp and weft threads used in weaving the fabric. Above is a picture of fabric being woven. You can see the warp threads, weft threads and the selvage.
Warp
Warp are those threads that go up and down and run parallel to the selvages. When you cut out a pattern, typically you will cut on the warp. Which means you’ll line your pattern up with the warp or the up and down or top and bottom threads of the fabric.
Weft
Weft are those threads that go left and right (think of it as “weft and right” to help you remember) when the fabric is woven.
In other words, warp and weft refers to the horizontal and vertical threads in woven fabric.
In the below picture you can see the warp, weft, fold, bias, selvage, wrong and right sides, as well as the cut edges.

Crosswise Grain
Crosswise grain refers to the threads in a fabric which run perpendicular to the selvage of the fabric. It is another name for the weft threads.
Lengthwise Grain
Lengthwise grain refers to the threads in a fabric which run the length of the fabric, parallel to the selvage of the fabric. These are called the warp.
Selvage
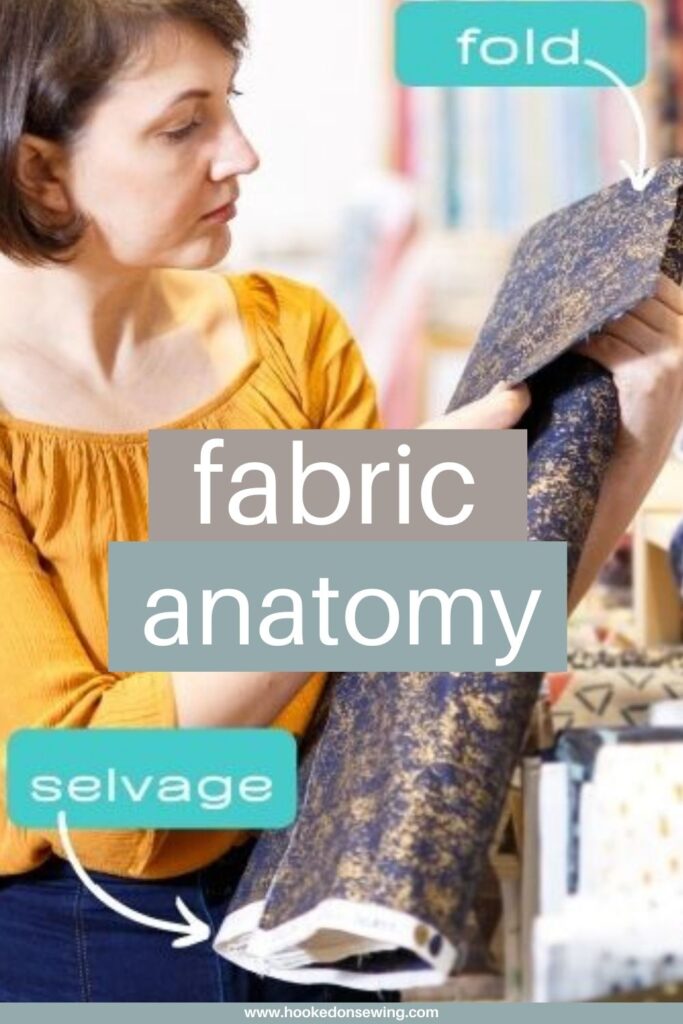
A selvage is the tightly woven edge of a fabric. It prevents the side edges of the fabric from raveling or fraying. You typically don’t use the selvage edges in your projects and will trim the selvage away.
Fold
Commonly refers to the folded edge of fabric. When you buy fabric in a fabric store, it comes on a bolt. That bolt of fabric is folded in half lengthwise when wrapped on the bolt.
The fabric is cut off the bolt with the fabric still folded lengthwise. The fold of the fabric in this case is the opposite edge from the selvage.
Bias
The bias is the 45 degree diagonal angle across the weave of the fabric or the grain. A bias cut is a technique used to cut fabric to give the material more softness and elasticity.
Bias strips are also used in binding the edges of quilts, placemats, and raw edges when sewing (such as bag making).
Right Side
Right side refers to the printed or pretty side of the fabric. Fabrics are often sewn “right sides together”.
Wrong Side
As you may have guessed, the wrong side of the fabric refers to the back on non-printed side of the fabric. Interfacing and batting are applied to the wrong side of fabric.
Diagonal
Technically, diagonal is any non-horizontal or non-vertical line or direction on the fabric. Bias could be considered diagonal and is often used interchangeably, such as “cut diagonally” or “cut on the bias”. (However bias is a 45 degree diagonal angle across the weave of the fabric and not just any diagonal degree.)

And what about “With Nap”?
Nap refers to the texture of a piece of fabric that is determined by the direction of its raised fibers or the pile. So, let’s talk briefly about with nap and without nap.
With Nap
The nap is the texture of the fabric and describes which way the fibers align. Take corduroy, for example (and pictured below). If you run your hand up and down the fabric, you will notice a different feel, color, and texture to the fabric.

Some fabrics, like satin, don’t have the feel, but still have an obvious nap based on how they look. So, if you take a piece of satin fabric and look at it, then rotate that fabric 180 degrees and look at it, it may look like a completely different color or a different shade.
When you read a pattern, it will give you instructions on how to layout the pattern based on “with nap”, “without nap”, or “with or without nap”.
Then when you’re cutting a fabric with nap, you want to lay out all of your pattern pieces so that they face the same direction. This is called a one-directional layout. If not, you risk sewing two pieces together that, while cut from the same fabric, appear to be slightly different.
Without Nap
As you may have guessed, fabric without nap does not have an obvious nap. A fabric without nap is a fabric that looks the same regardless of its orientation. When you’re cutting a fabric without nap your pattern pieces do not have to face the same direction.
We’ll talk and learn more about nap when we start working with different fabrics, like corduroy.
Download Fabric Anatomy Guide
I have put together a printer friendly Fabric Anatomy Guide that you can download for free. Just sign up below to have it delivered to your Inbox:
I do recommend that you print out the guide, three-hole punch it and keep it in a sewing reference 3-ring binder. It’s a handy (and organized) way to keep all your sewing tips, charts, guides and other reference materials all together in one place. Not to mention, easily accessible!

Questions?
So, what questions do you have about fabric anatomy? Just leave a comment below and I’ll be glad to answer them!
Learn to Sew
If you enjoyed learning about fabric anatomy, you may also like these other blog posts specifically for beginner sewists. In fact, I have a whole series that will help you to Learn to Sew.
And be sure to pin the below image to your favorite Pinterest board to save it for later or to share with family and friends!


Hello,
I appreciate that you are including ‘learn to sew’ on your website. Your definitions of the anatomy of fabric are well-done, however the photo of the gingham fabric together with labels and arrows, is somewhat confusing. One label that says “right side” is on the wrong side of the fabric. The arrows from the label “selvedge” don’t really point anywhere in particular. (Maybe the labels moved when the file was uploaded?)Sorry to be negative, but I think, ‘What would a newbie sewist do with this?”
Thank you for bringing this to my attention. The image didn’t save correctly and I didn’t notice the discrepancy. I have uploaded a new image. Please let me know if you notice anything else. Thanks again!!
Pam Baker
Hooked on Sewing