You can Sew a Baby Blanket with Cuddle® Minky Fabric in absolutely no time! No batting required! Just Cuddle® Minky Fabrics, thread, basting spray, a rotary cutter, and your walking foot!
SPONSORED POST: Missouri Star Quilt Company provided me with the Cuddle Minky Fabric used in this tutorial. All content is 100% my own. You can learn more about Cuddle Minky Fabric and the supplies used in this tutorial HERE.
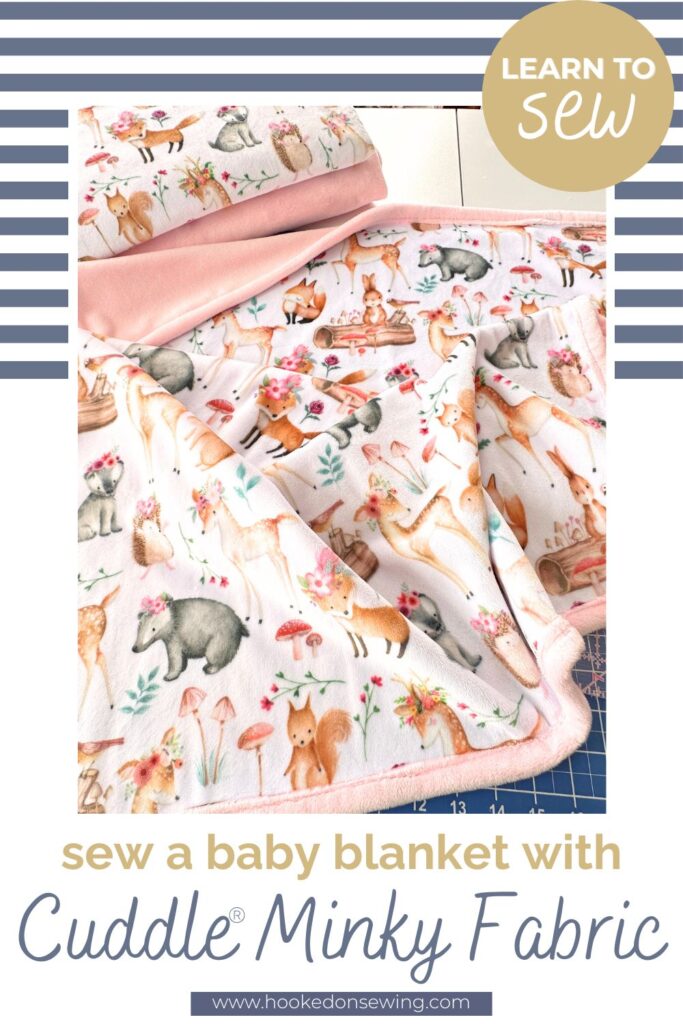
Tips for Sewing with Cuddle Minky Fabric
You can find all my best tips for sewing with Cuddle Minky Fabric in this tutorial. And there’s even a video to accompany the tutorial.
- Here’s a link to the Tips for Sewing with Cuddle Minky Fabric
- Here’s a link to the Tips video.
Sew a Baby Blanket with Cuddle Minky Fabric
You can literally sew an entire baby blanking using Cuddle Minky fabric in about an hour or two. Really! There’s no rush though. Take your time and you’ll still be able to make this baby blanket in absolutely no time!
Video Tutorial
Of course, there’s a video tutorial on How to Sew a Baby Blanket with Cuddle Minky Fabric. This really is an easy tutorial and equipped with my tips above, and this video, you’ll feel more confident and be able to make a lovely baby blanket!
Supplies Needed
There’s really not much in the way of supplies, but you’ll need. If you’d like you can check out my project list on the Missouri Star website HERE.
- Cuddle Minky Fabric for the front of the blanket
- Cuddle Minky Fabric for the back of the blanket
- polyester thread
- basting spray
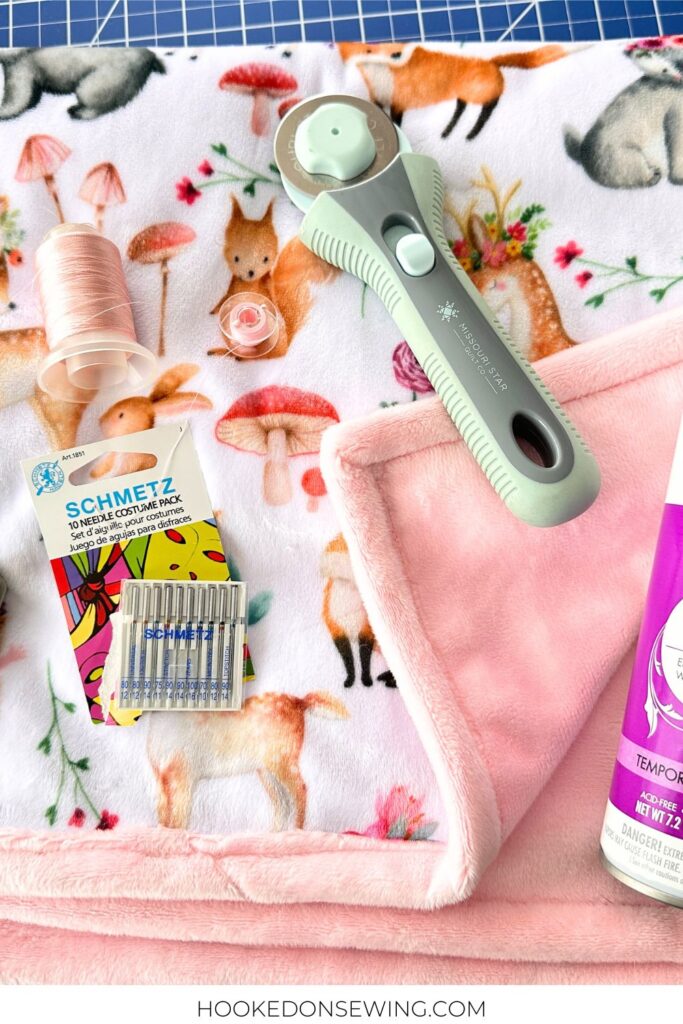
Tools Needed
I do recommend the following tools and equipment. They’ll make sewing your baby blanket with minky fabric so much easier!
- sewing machine
- stretch needle
- walking foot
- rotary cutter
- acrylic ruler
- self-healing cutting mat
- pins or clips
- scissors
- walking foot
Fabric Cuts
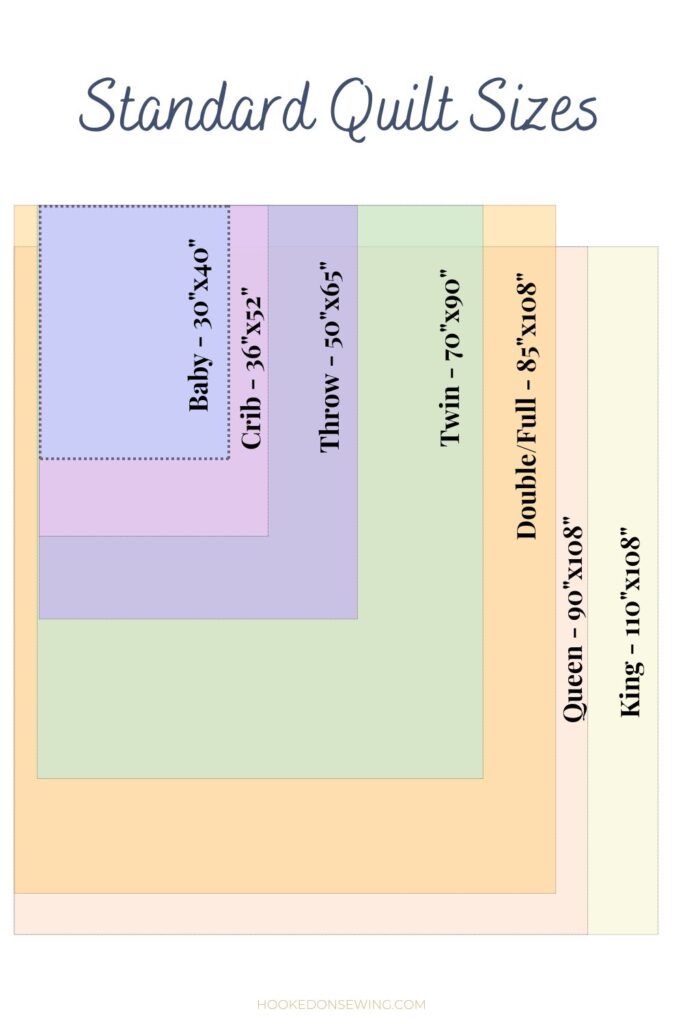
You can cut your fabric any size. There are standard sizes for quilt patterns as follows:
- Baby: 30″x40″
- Crib: 36″x52″
- Throw: 50″x65″
- Youth: 54″x78″
- Twin: 70″x90″
- Full/Double: 85″x108″
- Queen: 90″x108″
- King: 110″x108″
Having said that, you can literally make your blanket any size! For the purpose of this tutorial, I made the following fabric cuts:
- blanket front: 31″Wx41″H
- blanket back: 31″Wx41″H
- binding: 1-3/4″HxWOF (x3)
Instructions
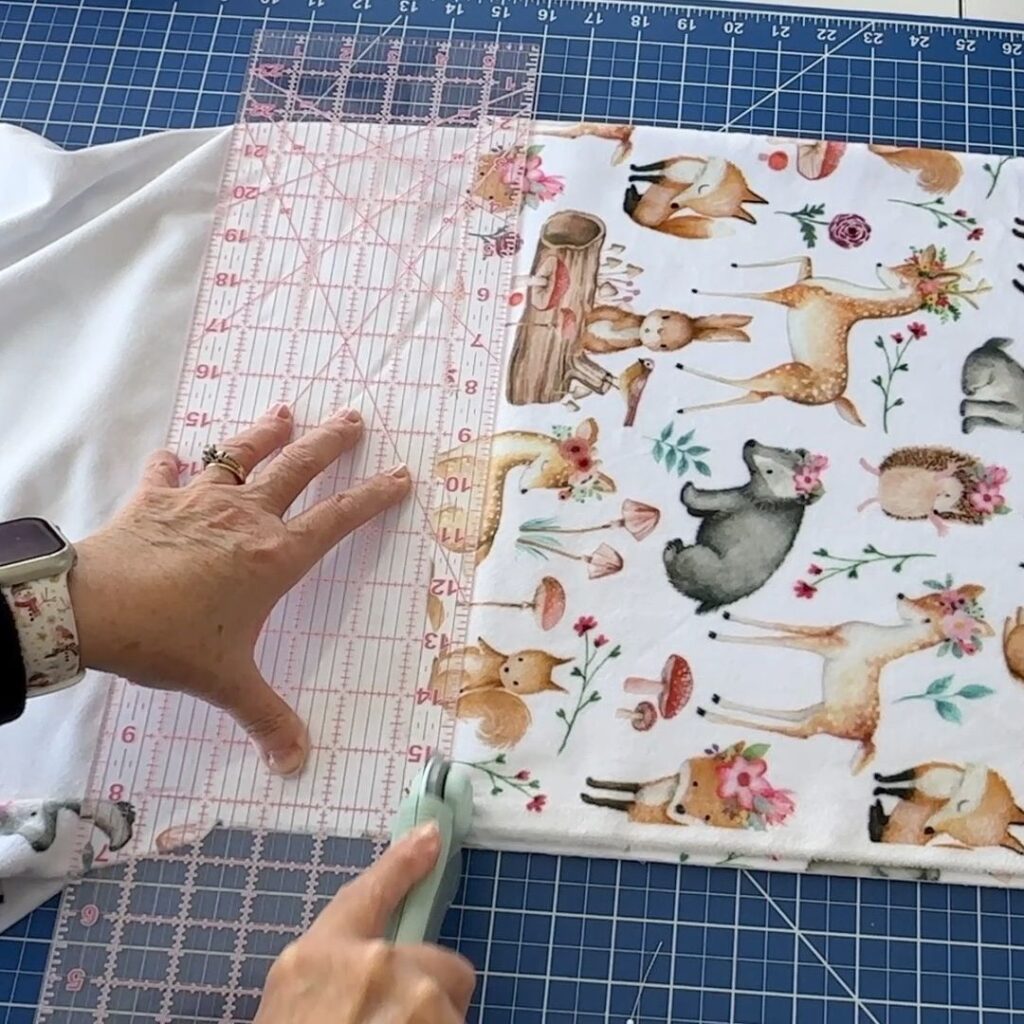
Step One: Cut Fabrics
Cut the fabric for the front, back, and binding of your baby blanket according to the fabric cuts listed below in the how-to.
Step Two: Spray Baste
Use your spray baste adhesive to baste the two pieces of fabric together.
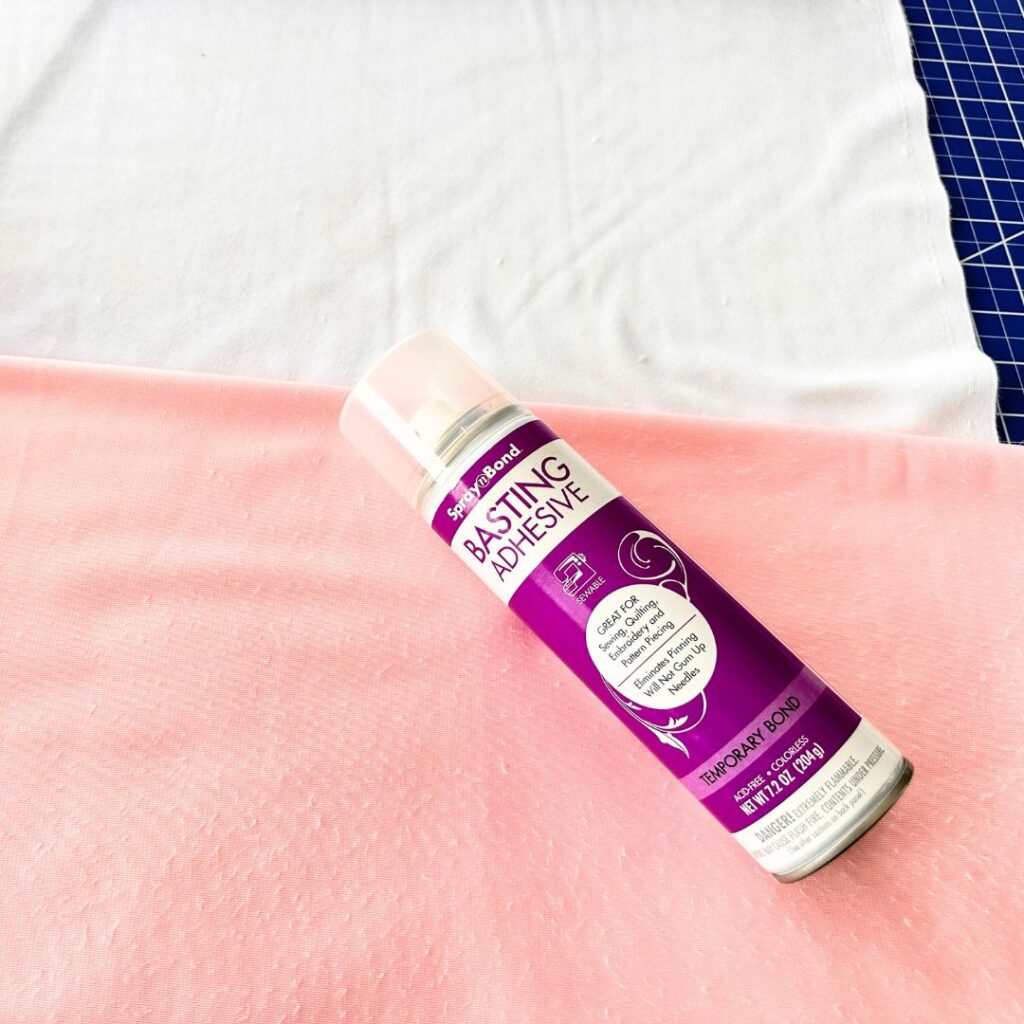
Step Three: Prepare Binding
You should have cut (3) 1-3/4″xWOF (width of fabric) strips of minky for your binding. You’ll sew each of these pieces together to form one long strip.
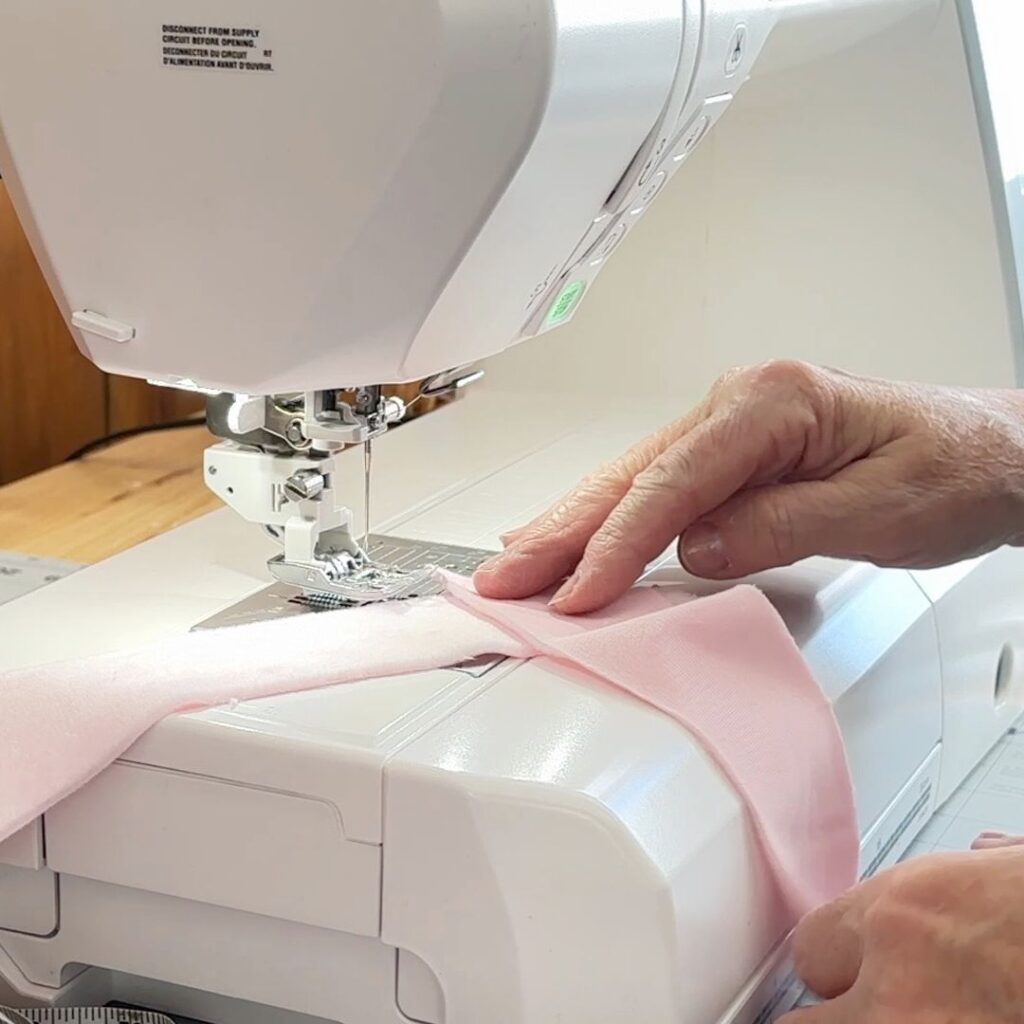
Step Four: Stitch
Using a long 3.0mm stitch length, stitch the blanket back and front pieces together using a 1/4″ seam allowance along the perimeter.
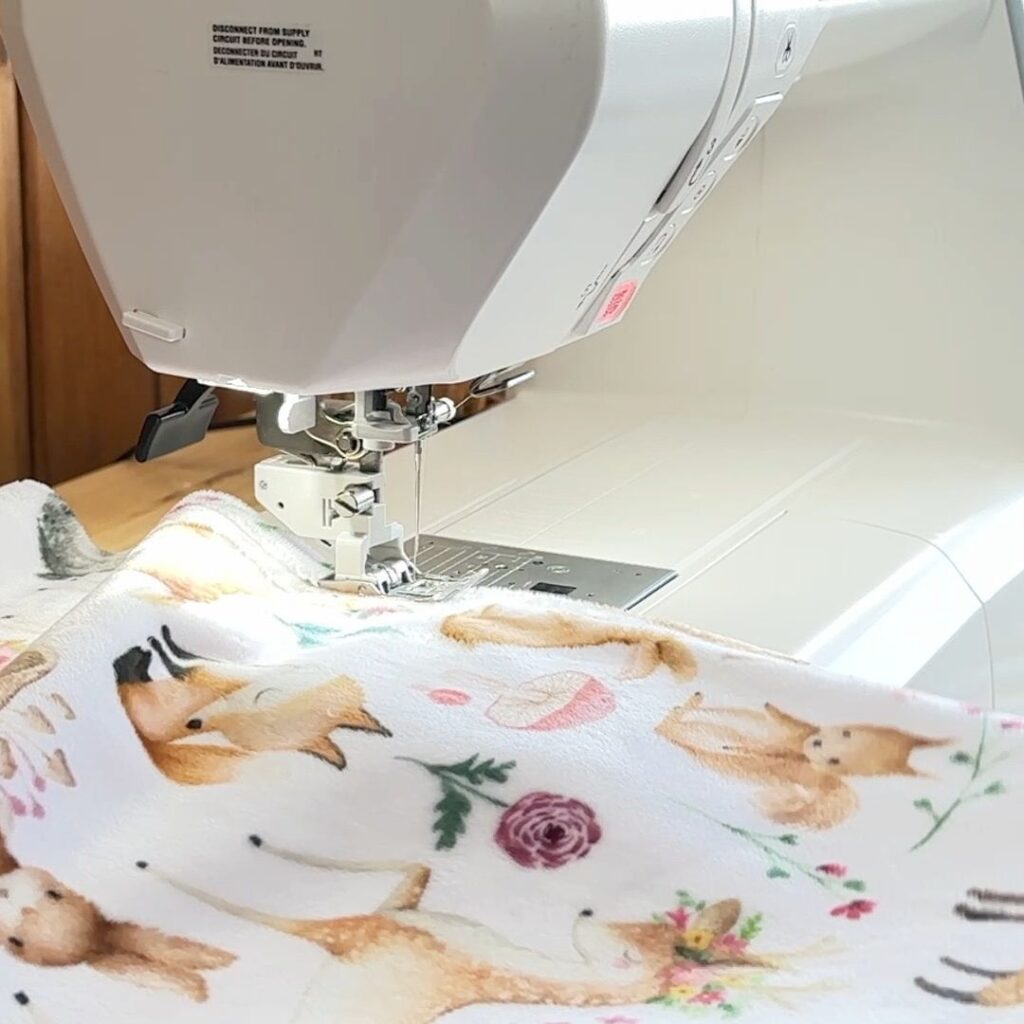
Step Five: Attach Binding
Then you will attach the binding by sewing the binding onto the back side of the blanket. After it is sewn to the back, fold the binding towards the front of the blanket and stitch in place close to the edge of the binding.
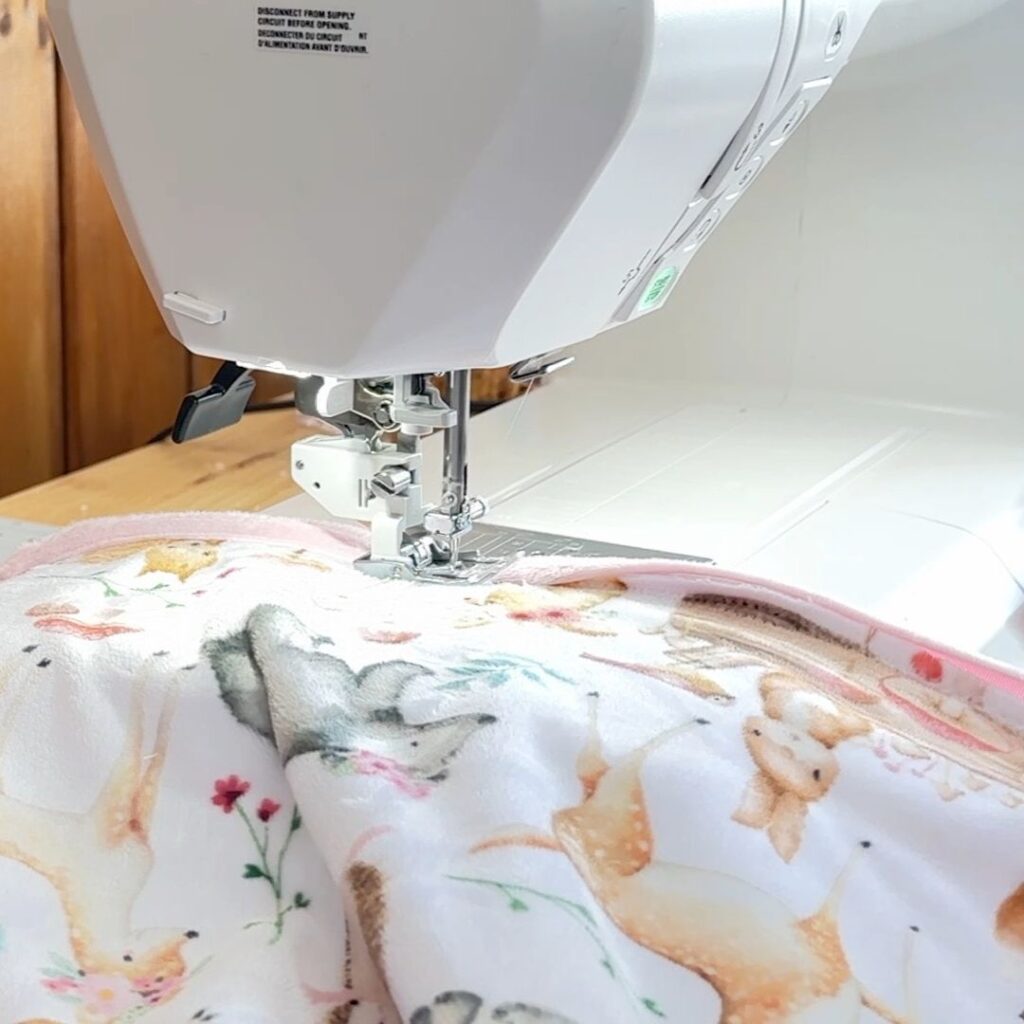
FOR MORE DETAILED INSTRUCTIONS, SEE THE HOW-TO BELOW.
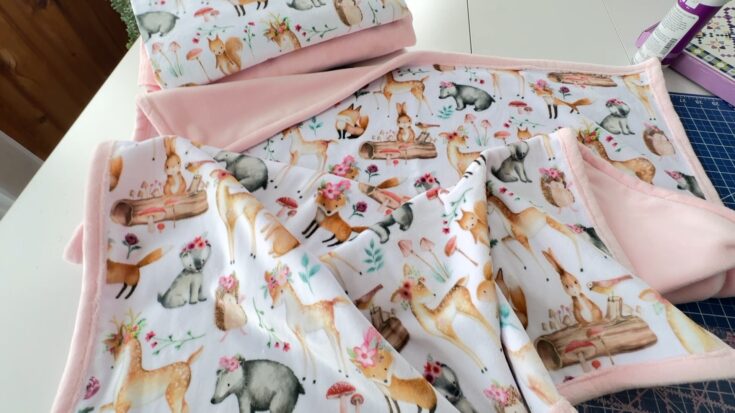
Sew a Cuddle Minky Baby Blanket
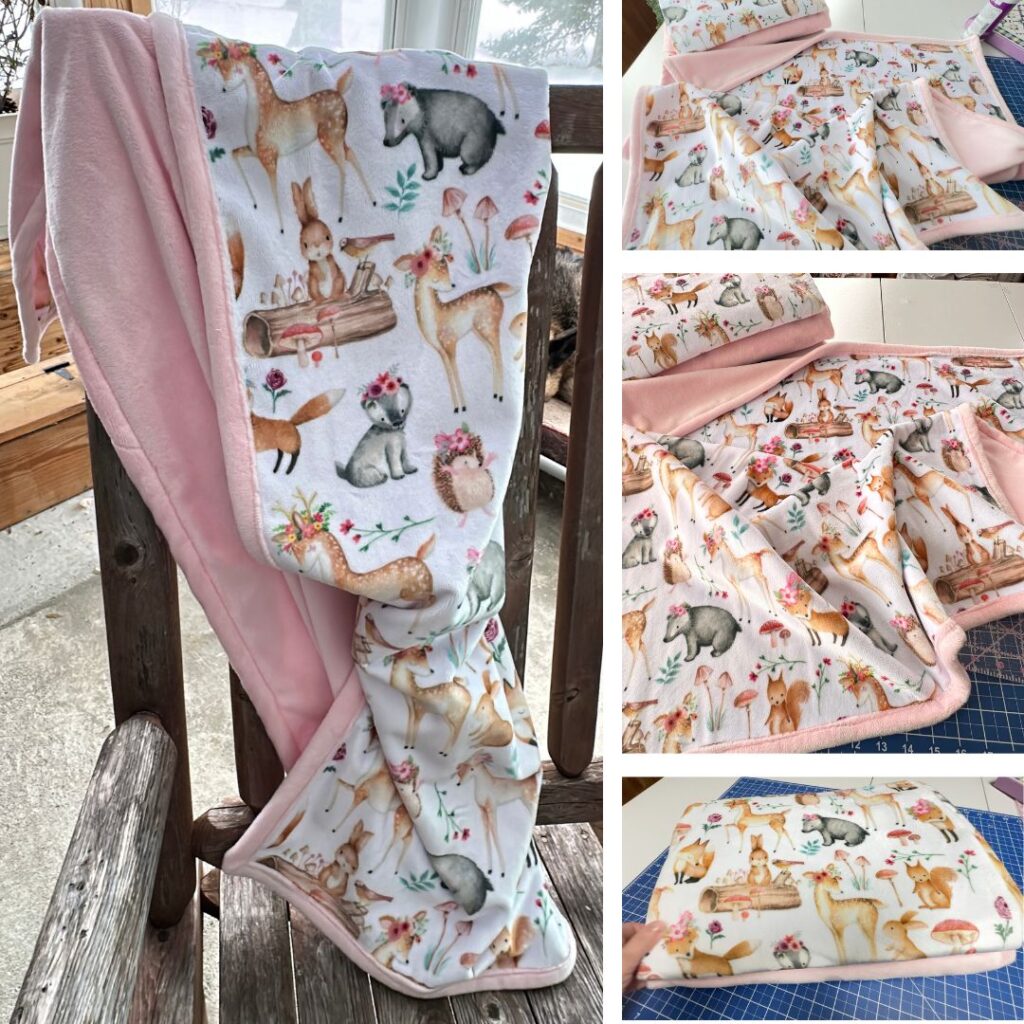
Sew an adorably soft baby blanket using Cuddle Minky Fabric on the front and back! These baby blankets are easy to sew and make for a great gift!
Materials
- 1 yard cuddle minky fabric for blanket front
- 1 yard cuddle minky fabric for blanket back and binding
- polyester thread
- basting spray
- stretch needle
Tools
- rotary cutter
- acrylic ruler
- self-healing cutting mat
- scissors
- pins or clips
- tape measure
- walking foot
Instructions
- Make fabric cuts as follows:
blanket front: 31"Wx41"H
blanket back: 31"Wx41"H
binding: 1-3/4"xWOF (x3) - Baste the fabrics together. Once you have made your fabric cuts, it's time to sandwich your fabric together. Lay the blanket back wrong side up on your work surface, Then place the blanket front right side up on top of the blanket back. In other words, the fabrics are wrong sides together. Line up your edges.
Fold the top edge of the fabric front down onto itself. Then spray the fabric back with your basting adhesive. Unfold the fabric and smooth back into place.
Fold the bottom edge of the fabric front down onto itself. Then spray the fabric back with your basting adhesive. Unfold the fabric and smooth back into place. - Prepare the binding by sewing the ends together. Simply place the strips right sides together so they are perpendicular to one another. Using a 3.0mm stitch length. Stitch the pieces together on the diagonal. Repeat until you have one long strip of binding sewn together. Trim the seam allowances to 1/4".
- Stitch blanket pieces together. I like to stitch the blanket pieces together before applying the binding. Use a 3.0mm stitch length and a 1/4" seam allowance and stitch through both layers all around the perimeter of the baby blanking, pivoting at each corner.
- Attach the binding. Starting about 6-8" down from one short end of the binding strip, lay it right side down on the blanket back, along one of the long edges. Line up the long raw edges of the binding with the blanket and stitch the binding in place. You'll use a 3.0mm stitch length and a 1/2" seam allowance.
When you get to a corner, stop stitching 1/2" away from the edge, with your needle in the down position. Raise your presser foot and rotate the fabric 45 degrees. Lower the presser foot and continue stitching towards the corner of the blanket and off the edge. Cut the thread.
Rotate the fabric. You should have the edge you're going to stitch down parallel with the presser foot. Fold the binding back away from you then fold towards you so that you make a fold that's even with the edge of the blanket. The long edge of the binding should line up with the blanket edge. Line up blanket and binding and continue to stitch using a 1/2 seam allowance.
Repeat until you get about 8" away from where you began stitching down the binding.
To attach the two binding ends. Take the top binding strip and fold it backwards about 4" from where you stopped stitching. Then take the bottom binding strip and fold it backwards onto itself so that the fold meets with the fold of the top strip. The two folds should be butted together. Now take the top strip and fold it at a 90 degree angle towards the left. Fold the bottom binding strip and fold it at a 90 degree angle towards the right. Again, the folds of each binding end should butt up diagonally to one another. Pin the binding pieces in place at the folds. Then stitch along the diagonal. Trim the seam allowance to 1/4" - Attach the binding to the front of the blanket. Now you will fold the binding over to the front of the blanket and stitch in place. Stitch close to the edge of the binding using a 3.0mm stitch length.
Recommended Products
As an Amazon Associate and member of other affiliate programs, I earn from qualifying purchases.
-
 SCHMETZ Stretch Sewing Machine Needles
 -
 Janome AcuFeed Foot with Foot Holder (Single) for 9mm Machines
 -
 Clover Wonder Clips
 -
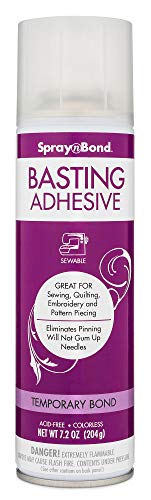 SpraynBond Quilt Basting Adhesive Spray
 -
 Fiskars Self Healing Cutting Mat, 24x36”
 -
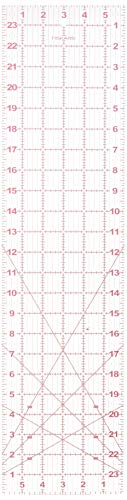 Fiskars Acrylic Ruler, 6x24 Inch
 -
 Missouri Star Rotary Cutter, 45mm Blade
 -
 Janome Memory Craft Horizon 8200 QCP Sewing Machine
Download Quilt Size Chart
If you’d like a printable version of the Quilt Size Chart, just complete the below form and once submitted, the pattern will be sent to you via email.
TIP:
Be sure to add pam@hookedonsewing.com to your contacts or safe senders list first so there are no issues with deliverability. If you don’t receive the email within a few minutes after submitting the below form, please check your junk, spam, or promotions folders.
And don’t worry, I never spam you or sell your information. You will be added to the Hooked on Sewing newsletter (if you aren’t a member already) and the chart will be sent straight to your inbox.
Sewing Ideas
You’ll also find tons of sewing projects and patterns right here on Hooked on Sewing! Everything from Sewing a Basic Pillowcase to sewing a Casserole Cozy or even Making a Baby Bib, plus sew much more!
Learn to Sew
If you’re new to sewing, or maybe it’s just been a long time since you’ve sewn, or maybe you’re just feeling a little rusty or maybe you’d simply like to learn more about sewing. Then you’ll want to sign up for my FREE Learn to Sew series.


Leave a Reply