Here are my best tips for sewing with vinyl. Armed with a little “know how” and these helpful tips you can successfully sew with vinyl!
I recently shared How to Sew a Fabric and Clear Vinyl Zipper Pouch. In this tutorial, I shared a few tips and the tools I use to sew with vinyl. But, I thought it might be worthwhile to share those tips in a separate post.
Before we talk about the tips and tricks of sewing with vinyl, let’s learn a little bit more about vinyl.

What is Vinyl?
Vinyl fabric is a durable fabric made from PVC, vinyl, polyester and other synthetic blends. It is weather-proof, easy-to-clean, and durable material. There are many different types of vinyl, such as:
- non-backed vinyl
- backed vinyl
- expanded vinyl
- upholstery vinyl
- marine vinyl
- clear vinyl
- faux leather
- outdoor vinyl fabric
- vinyl mesh fabric
- craft vinyl
- stretch vinyl
- clear vinyl
There are subtypes within each of these different types.
These vinyl materials are available in a variety of colors, weights, and textures. Their uses are literally countless for both indoors and outdoors projects!
Vinyl Gauge
Also, clear vinyl comes in different weights or thickness called gauges. The lower the number, the thinner the vinyl. You can use 12 gauge vinyl as windows in wallets or maybe use 16 – 20 gauge to sew vinyl pouches.

Tips for Sewing with Vinyl
Sewing with vinyl gets a bad wrap. Why? Because it can be difficult to sew with. It tends to stick to the presser foot and needle plate, causing all sorts of frustration. Plus, it’s not very forgiving. If you have to rip out any stitches, there will be holes left behind in the material.
Tip #1 – Remove Creases
Before you take even one stitch with your vinyl, it’s important to properly prepare the material. Often times, you’ll find there are creases or folds in the vinyl. You’ll want to remove these creases and make sure your vinyl is nice and flat before you begin sewing.
To prepare the vinyl, you can hang it on a clothesline so that it hangs straight. Or try using an iron on a low-heat setting along with a pressing cloth. You can also try just hovering your iron over the vinyl. Don’t use steam and be careful not to touch the vinyl with the iron – it will melt and stick to your iron!

Tip #2 – Store Vinyl in Rolls
For best results and to prevent creasing, do NOT fold the vinyl. Instead, roll it up and store it standing up in a basket. You can secure the roll with a rubber band or some twine to keep it from unrolling. Just keep the band or twine loose. You don’t want to create a crease in the vinyl.
Tip #3 – Use Heavy Duty Thread
For projects that need a little extra durability, you may want to try using a heavy duty thread. I’ve had success using bonded nylon thread. Bonded nylon thread is safe for home sewing machine use. It’s a strong thread that is often used in upholstery and drapery sewing.
It’s also a great option for using as a decorative stitch with vinyl, such as with topstitching.

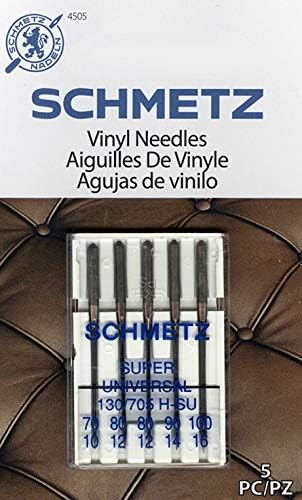
Tip #4 – Use a Vinyl Needle
When I have sewn with the 16 gauge clear vinyl, I was able to use my universal size sewing machine needle. But, Schmetz (and other manufacturers) actually makes a sewing machine needle designed for use with vinyl. In fact they have a vinyl needle and a nonstick needle.
These needles have a special coating that helps the needles glide through the vinyl and keeps the vinyl from sticking to the needles.
Tip #5 – Use a Long Stitch Length
Because the needle actually punctures holes in the vinyl when you sew with it, it’s important to select a long stitch length. If you use a short or regular stitch length, you can literally perforate the vinyl. So, use at least a 3.0mm stitch length.
In fact, take a scrap piece of vinyl and try some different stitch lengths to see what works best for you.
Tip #6 – Lower the Tension
If you find that you are breaking your thread often while sewing with vinyl, you may need to adjust your sewing machine tension. Because the vinyl is a thick material, you might want to ease up on that tension by lowering the tension.
Again, use a scrap piece of vinyl to practice sewing a few stitches, making any necessary adjustments to tension and stitch length to get the best results.
Tip #7 – Use Clips NOT Pins
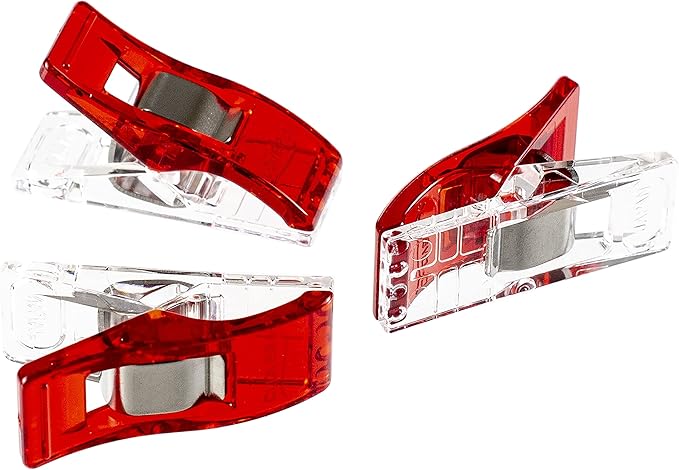
Remember, if you puncture your vinyl with your sewing machine needle, pins, or even scissors, the puncture will be permanent. So, when you need to secure layers together for sewing, use clips instead of pins.
I like to use Wonder clips, but you can use any brand of clips. Just don’t use pins!
You also don’t want to leave the clips on your vinyl for very long because they can leave permanent indentions in your vinyl.
Tip #8 – Use a Rotary Cutter
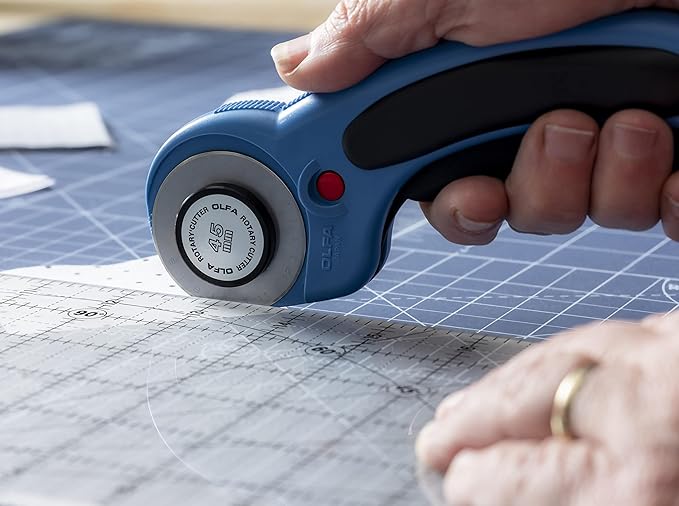
To get perfectly straight cut lines and edges on your vinyl, be sure to cut the vinyl with a rotary cutter.
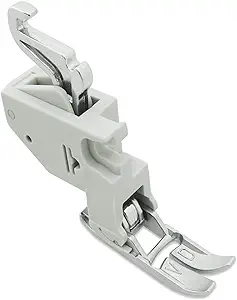
Tip #9 – Use a Teflon Presser Foot
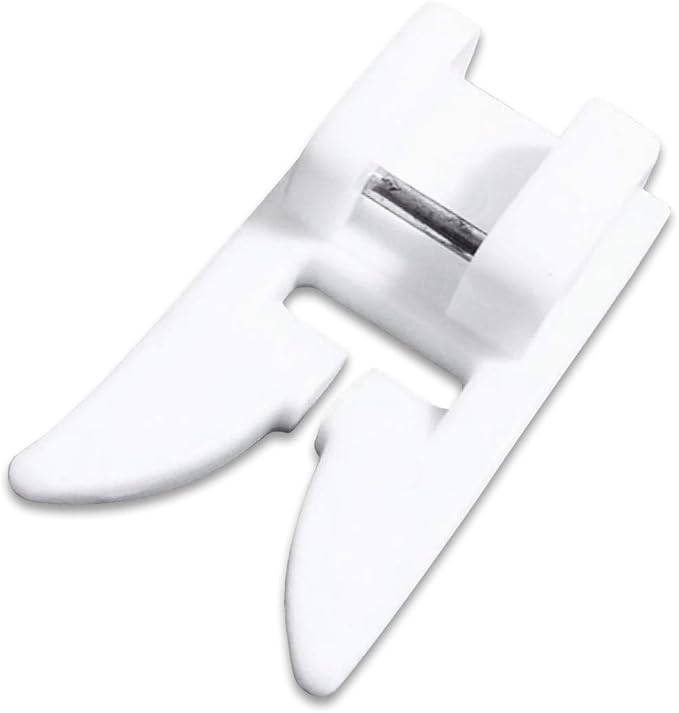
There are a few different types of presser feet that you can use to sew vinyl. My first choice would be a teflon presser foot.
You can also use a walking foot. The walking foot is especially helpful when sewing with thicker vinyl. Another option is a roller foot. The roller foot actually has little rollers on the bottom of the foot that helps to feed through thicker materials.
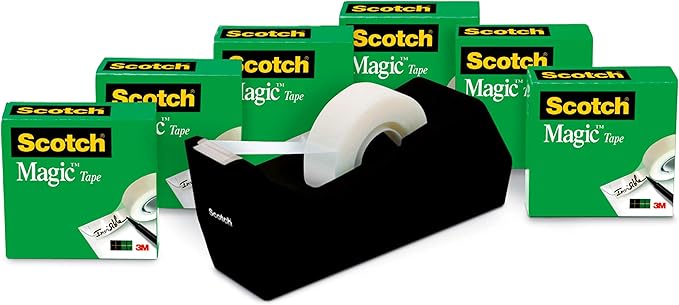
Tip #10 – Use Scotch Tape
If you don’t have a teflon foot, you do have another option. Simply apply a piece of Scotch tape to the bottom of your presser foot. The tape will help your foot to glide over the vinyl.
Tip #11 – Use Tissue Paper
When you purchase your vinyl, it will probably come with tissue paper on the back of the vinyl. This tissue paper helps to keep the vinyl from sticking to itself when rolled. Don’t throw this tissue paper away!
In fact, when I cut my vinyl, I keep the tissue paper backing in place and cut through both the vinyl and the tissue paper.
Then when you go to sew the vinyl, simply make sure the tissue paper is on the bottom (against your sewing machine) of the vinyl. This, along with the Scotch tape or teflon foot will help your vinyl to just glide under the presser foot.
Tip #12 – Test First!
Although I’ve mentioned this earlier, it’s important to mention it again. To have the best results with sewing with vinyl, the very best thing you can do is to test first. Just take a scrap piece of vinyl, change your presser foot, tension, thread, etc. and test stitch. Make any necessary adjustments, test again until you are happy with the results.
More Questions?
If you have more questions about sewing with vinyl, please feel free to leave them in the Comments below!
Sewing with Vinyl Project Ideas
If you are interested in sewing with vinyl, you might like these project ideas:


Hi
Loved your video, very informative. Can I use my serger for the final side seams of the pouch?
Where do you get your vinyl?
Thanks,
Beth
You can use your serger, but the vinyl doesn’t ravel, so it’s not necessary. I purchased my vinyl at JOANN Fabrics.
Hope this helps!
Pam Baker
Hooked on Sewing
If I sew vinyl between 2 fabrics, is it machine washable?
Marian, I don’t know the answer to that question for sure. I would follow the cleaning instructions from the vinyl manufacturer.
The vinyl I purchased says “clean with a damp cloth.”
Thank you so much for these helpful tips !! It was very informative and made a huge difference. 👏
You are so welcome!! I’m glad these sewing with vinyl tips were helpful!!
Pam Baker
Hooked on Sewing